Showing posts with label Tutorials. Show all posts

Thursday, March 17, 2016

WIP Wednesday #7 - A Disappearing 9 Patch


This tutorial here on how to make a Disappearing 9 Patch is my most viewed post in this blog. Over 16,000 views. I look at the tutorial made back in 2009 and it doesn't really tell you that much. So I decided on the weekend to sew up some D9P blocks and redo the tutorial and at the same take make another table runner before I throw myself into the next blue baby quilt.

Saturday, September 04, 2010

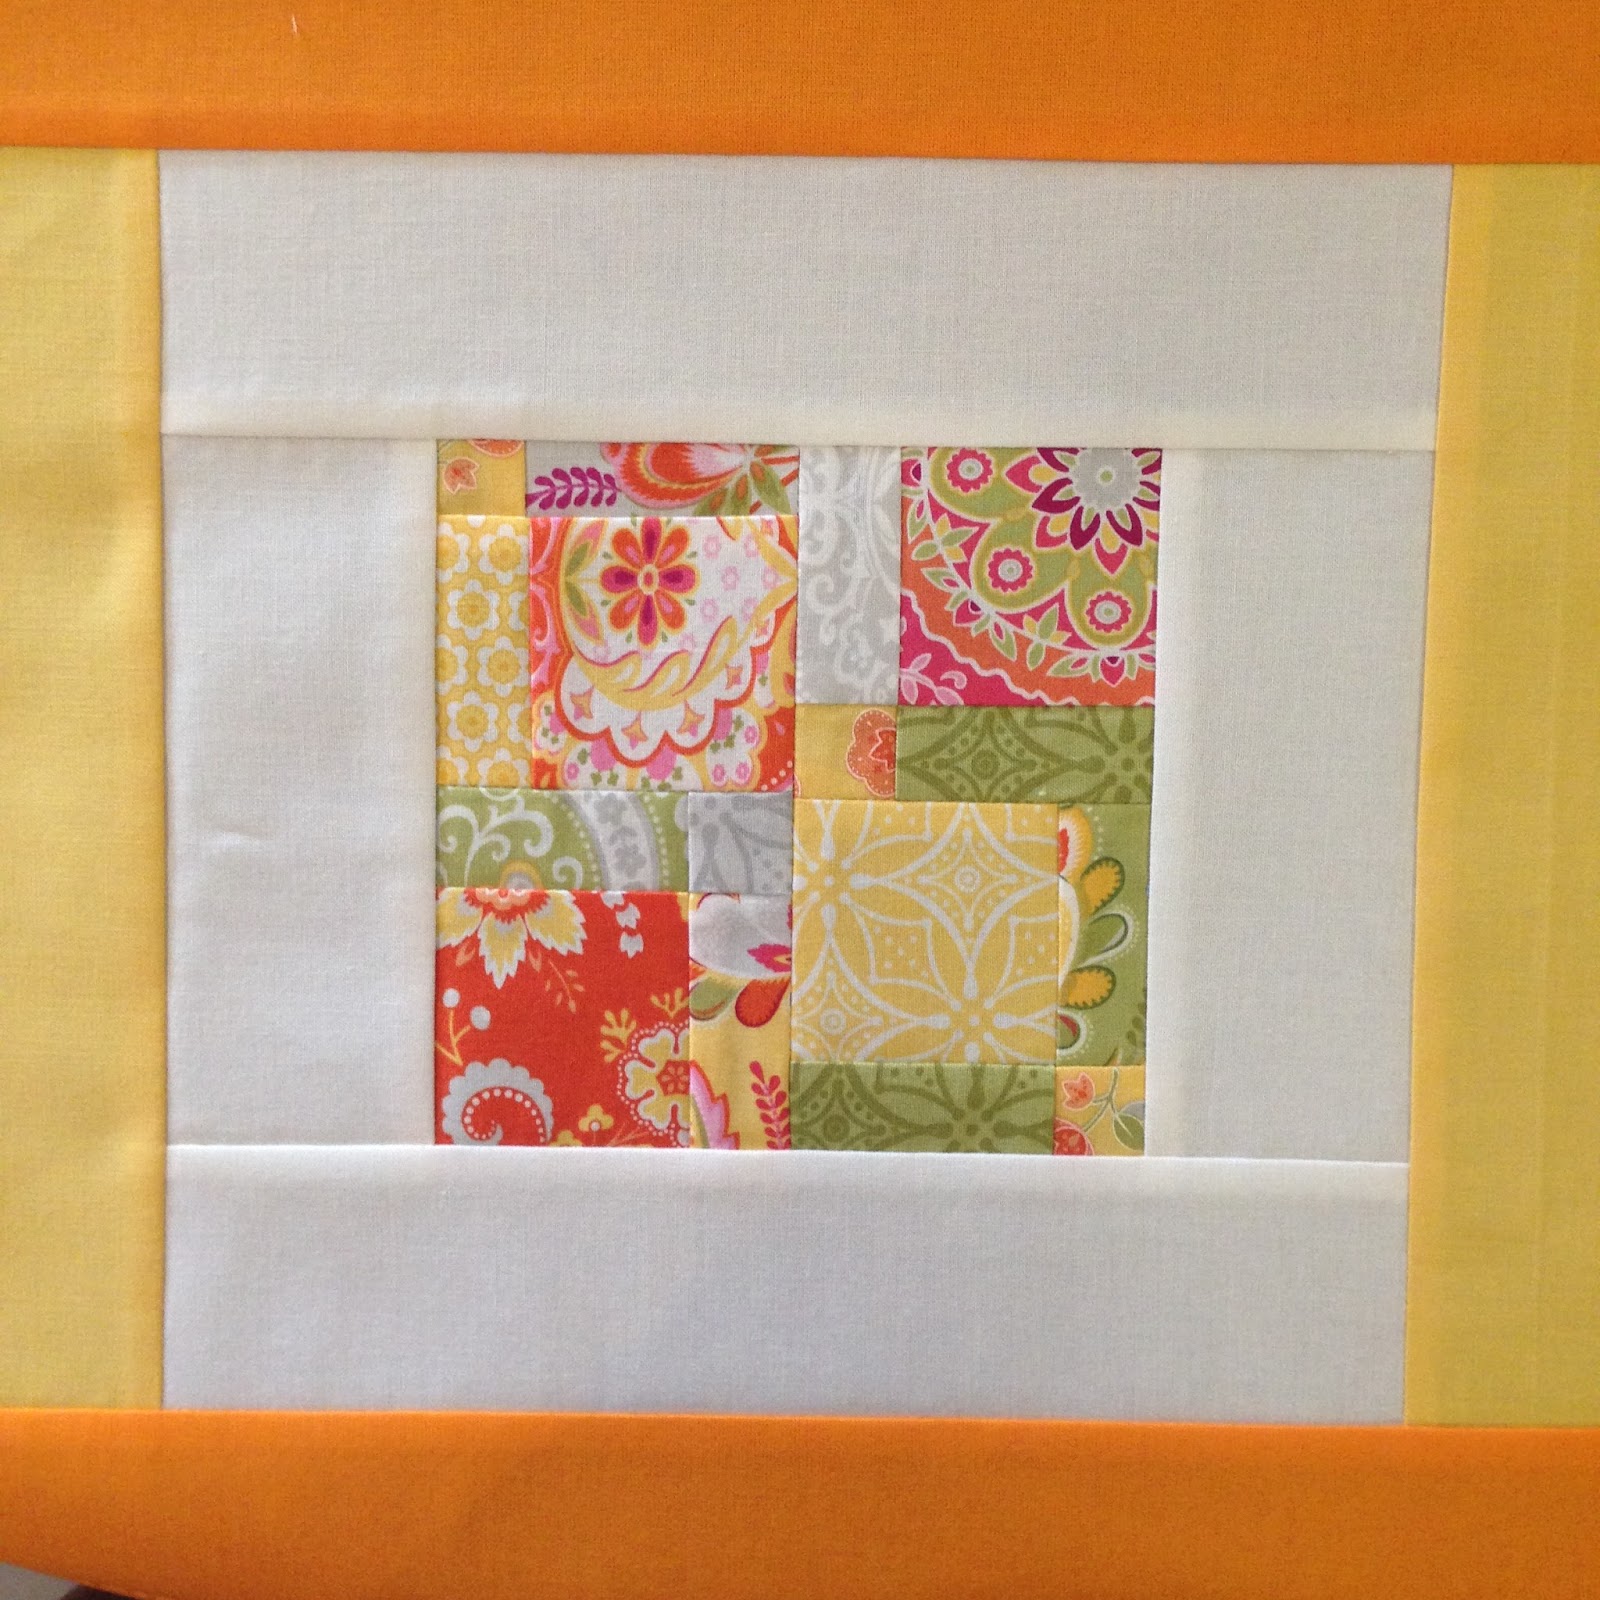
Square in a Square in a Square Tutorial.

This is such an easy block it doesn't really need a tutorial, but sometimes its fun to look at the visual before you do it. This is the block I have selected for Around the Block - Round 2. A Jewelled Square or a fancy way of saying a Square in a Square. For the purpose of this tutorial though, I'm not saying anything about measurements. In the photo below, the center square could be 8" or 2", that bit is up to you!

So step one, cut a square and two strips. Again the width of the strips is up to you. Could be a scant 1" or a more generous 4".

Sew together and then trim, making sure the center square is still square.

Then sew two more strips down the other two sides.

And that will give you your first square within a square. See, easy!

Then it is just a matter of doing it all again. Decide what thickness you want the second square to be, trim it down.....

Then sew on the strips.

Trim and sew on the second lot of strips and there you have your third square within a square. Now would be a good time to talk about measurements. I wanted these blocks to be 6.5" square. See this block laying over my 6.5" square ruler? My block is slightly too small! Bugger! Just half an inch more on that second square and I would have been okay. I have a habit of sewing first, then measuring! If I didn't have a project in mind for these blocks, then it would have been okay, I would have just made it 6" but I want this one to become one of four blocks to make a 12.5" block.

So I trimmed it down and added another square onto it. Above is the finished block, cut to 6.5".

These are some other blocks I was sewing at the same time. I trimmed them and then arranged in a pleasing manner....

And then sew together! And there you have it. A square in a square in a square!

Monday, December 07, 2009

Disappearing 9 Patch Table Runner Tutorial.

This is such an easy runner to make. I'll do a tutorial here to show you just how easy lemon squeezy it is! I made this one with 27 charm squares, these ones are 5 inch squares. So lay them out into 3 groups to form a 9 patch block. Keep in mind that the squares in the corner of a 9 patch block will not be cut, so make sure that is a print you really like. The square in the middle of each 9 patch will be sliced twice, so keep that in mind too, busy prints or a neutral work best for the center square.

So once you are happy with the placement, sew them into 9 patch blocks. Hopefully they will stay in order! I always seem to get one row mixed up along the way.

And this is the fun part! After ironing your 9 patch block, slice it in half, rotate it and slice it again. So your block now becomes 4 blocks.

After you have cut all 3 of the original 9 patch blocks together, you now need to arrange the 12 new blocks in a pleasing manner. For this one I regrouped 4 little blocks to make one big block again, so I had 3 large blocks to make the runner. I tried to have 2 little squares in the center of each block facing the same way for each of the 3 larger blocks. Does that make sense? But you could really arrange the blocks anyway you wished. That's the joy of a Disappearing 9 Patch block, it doesn't really matter!

So once you have sewn all those blocks together you are on the home stretch! To make this runner just a little bit bigger and to frame it, I added a border of 1.5 inches as above.

Quilt as desired. I just did a meandering stipple all over the D9P blocks and an echo stitch just inside the border. Binding is on and pinned in place ready to hand sew down for this one.

See? Easy! Let me know if you make one, love to see.

Thursday, October 29, 2009

Day 29 of Blogtoberfest - Labels....

Thought I'd do a post on how I make my labels. There are lots of ways to make a label, but this is the way that I like to do mine. I design them in a program called Quark XPress. We only use that program cause 1. We have it loaded on the computer and 2. I know how to use it! You could do it in Word or Photoshop, I just prefer Quark. I do mine on an A6 document and like to do two labels at once, save paper. I use Matilda's Own Inkjet Printable Fabric. I got a pack of 10 sheets from the craft fair back in May for $11.95, I have 4 left in the pack.

Then I print it out on our little old Canon printer. It's just an ordinary inkjet printer!

Then you peel the backing off the fabric sheet, iron some vliesofix on the back of the label, cut it out to size, then peel the backing off the vliesofix, then iron it into place onto the back of your quilt. Couldn't get any shots of the ironing action as it kept steaming up the camera! I didn't used to iron vliesofix onto the back, but it just helps to hold the label in place while you blanket stitch it on.

And wolah, during one episode of City Homicide you will have your label sewn on! I like to use two strands of DMC thread. Love to hear how you do your labels.

Monday, October 05, 2009

Day 5 of Blogtoberfest - Wadding Woes.

Day five of Blogtoberfest brings a tutorial. Keeping in mind that tutorials are supposed to be helpful...... do you ever have a pile of wadding off cuts that are simply to good to throw away? In my sewing nook, such scraps serve either being used as trials to practice free motion quilting on, or reusing them as wadding in a quilt or this case a runner. Total tight arse Tuesday stuff, maybe I should have kept this topic for tomorrow?

Firstly lay out what scraps you have to work out how much you need to cover your project. I'm doing this for the strippy runner a few posts back. These 4 bits should do.

So I trim them...

And then sew them together. Easy peasy hey?

Use the widest zig zag stitch your machine can do. And select the zig zag stitch that isn't a full stitch, the one that uses 3 stitches to make each zig.

And then sit back and admire how you have stuffed it up and wonder how on earth did that one bit gather on you??! Ponder how in the past it has worked perfectly and now when it comes to blogging a tutorial, you stuff it up! Ponder over if you can be bothered to unpick it and do it again..... Ponder if you can still get away with it...... Ponder over maybe just cutting a chunk out of your 4 meters of wadding might have been the best way to go.....

Thursday, August 27, 2009

The House that Helen Built.

I have joined in the fun of a 12 month block swap over at Around The Block. My month is September which is only days away, time to get organized! I have choosen wonky houses as my block. This is only one way to sew a wonky house. There are millions of ways to do it! One great links on how to do it is here. Amazing work. This is how I made mine.

Here is the fabric I pulled from the stash to get started. I didn’t end up using that blue after all! Something else grabbed me by the time I got to that stage.

First up, the door. Two wonky rectangles sewn together.

Sewed another wonky rectangle down the other side of the door. Then a window. I thought some contrasting cyan window panes would look funky. To do the window, a square, slashed in half, a scrap 1 inch wide strip sewn inbetween the square halves to make it a whole square again. Pivot, cut in half again and sew another scrap one inch strip in again to make the square complete.

So then you want to build the house. Rectangles above the window pane, one down the side to make a wall, one above the door. Sew them together and you have the body of a house.

Here is where the fun starts though. You could put the room on now or make an extra level. I wanted a larger house, always wanted an upstairs sewing room, think of the light! So I made two more windows.

Rectangles on either side...

And a rectangle to join the levels together.

And wolah, the house is build. Well this one is, you could go another level if you wanted! Now two strips to the side of the house for the sky.

And I called in the carpenter to put the roof on. Looks a bit like a mushroom. Two scraps on each side of the roof.

Then the roof is sewn on and at last minute I think oh a little chimney would be cute! A perfect way of hiding that I didn’t have enough blue fabric to go across the width of the block!.

Then trim the bottom and sew on the grass. Ready to move in?:)

And here is all my fabric bundled up to post out. Happy sewing ladies!

Saturday, May 10, 2008

Slice and Dice Tutorial.

What does one do on a Friday night when one's husband is still away and the kids are asleep? How about take a photo of each stage of a dice and slice block and blog it as a tutorial. Why not hey? Anyone up for a sew along? I have abandoned my original design of having green/blue blocks and contrasting blue/green sashing, instead I have gone for white! You could add a sashing like here or not, up to you! Here we go....

First up you need 9 squares of fabric. Now the finished block size will be smaller as its a wonky sew along. These ones here are 10 inch square, I figure that will come down to maybe 8 inches and so with seam allowances, 7.5 inches on the finished quilt top. So you place the 9 peices of fabric on top of each other, get out your ruler and rotary blade then give them one big slice. Nice and strong cause there is a few layers there to get through. Whatever angle you want.

Now the fun bit, you mix up the prints, dice them up! Here I am adding the white sashing between the two sliced peices, 1 inch wide here but that is up to you the width. Sew it all together again and....

You get out the rotary cutter again and cut another angle.

Again, you mix up the prints and I'm putting a white sashing inbetween to make it a square again. You could get imagainative and use different colours each time too. Endless possibilities.

Sewn together and ready to rotate 90 degrees!

And another big slice! Just be careful doing these ones, cause the rotary balde can pull it off a bit cause you are cutting through so much fabric. I found it better to do these ones one at a time and just placed one bit already cut on the top and used that as a guide for the ruler.

And another mix up of the prints. Starting to look interesting now! Add some more white sashing between these two bits.

And another slice, starting to get why its called a slice and dice?

And one final mix up....

And wolah! This is what my final block looks like! You can get tricky, you don't have to do 3 slices each side, you could do 4. You could do 2. Because its a lot of slicng and dicing it comes together really quickly and even more so if you sew all the blocks together at the same time.

However I did encounter a problem when I got to the end stage and laid my blocks out on the floor. I only had 8, I thought I cut 9 bits of fabric! It should be a different print in each section of the block, but I have doubled up on these. Each block has 2 sections of the same print. Not that it matters, just a quirk of the design. So this is what I have done tonight. Looking at it now laying on the floor, I am thinking just a nice green block in the middle, that should pop out!

Hope all that made sense! Happy sewing!